

NLP in PowerBI
With great Power BI comes great responsibility
It is time: Power BI + Python = Amazing!
It worked, it is relatively easy to convert the code to run within Power BI. The main thing that changes is the emphasis of using print() or exporting data in some ways things are easier in that you just need to update or create data frames so 🐼s is key… Pandas.
In terms of a step by step guide the first thing I did was get the code working in Jupyter as a proof that the code will execute successfully.
Following on from using spaCy.
When you add a Python Script to a Power BI Query it basically takes the data as it stands in the previous step and converts it to a data frame called dataset. This means that for the code I had for spaCy the name “df” needed to be changed to “dataset”.
The other thing that needs to be different is what you do with the outputs of your code. I previously was printing out the values to test that it was working which does not work with what we need for Power BI. Another common way of using python is to output to a CSV or summarize in a visual but again this is not something that we want to do when using Python scripts with Power BI Queries (Python with visuals is a whole other conversation). The solution is to either update a the dataset data frame or to create a new dataframe that stores your outputs. In the case of NLP we are taking text and splitting it up into component parts as rows so outputting to a new dataframe is the easiest way to do this - the advantage with Power BI is that you can always load your data in as another table an join your Python powered query outputs back to it which is really useful.
I created a list called “data” to store the outputs of the for loop and then a last step to create a new data frame called “new_df”. Hopefully the following comparison should make sense of the differences here. The other thing to mention is that I have added the dependencies above the code like you would in Jupiter but Power BI is like a standard Python Script so you need to all code needs to be in one step.
Previous Position of Speech Code
Putting this in Power BI
Hopefully this next step should be simple. To get stuff running in Jupyter you will have needed to install the modules etc. so as long as Power BI is using the same Python environment that you are this should work fine.
First step is to extract and load your data - this is pretty core to Power BI so I am not going to go through it other than to say that the code here is the same as with the spaCy example and expecting a inputs of id|text with those headers and only those columns. If you have more columns that you want to include do it in another query and join in your data model - the same is true if you have two (or more) text columns you can either add them all as sperare queries.
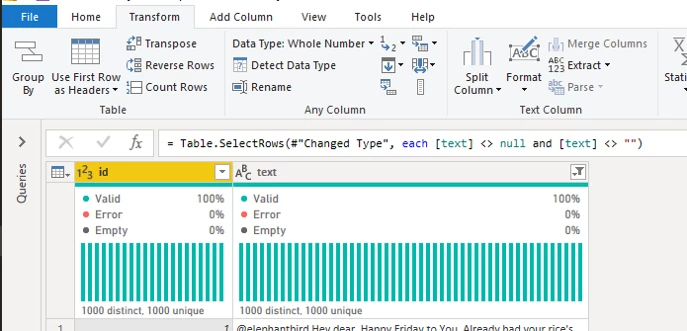
The source I am using is on SharePoint and is a CSV but the advantage of using Power Query on this is it is very easy to pull in data from wherever you want. The data has been processed and converted including filtering out blanks (even though the code will also check for this).
Once your data looks like this:
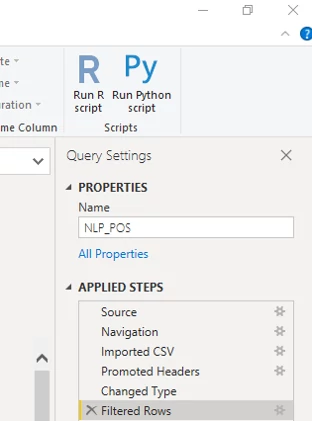
 Click on the Transform tab and the Run Python Script button in the far right:
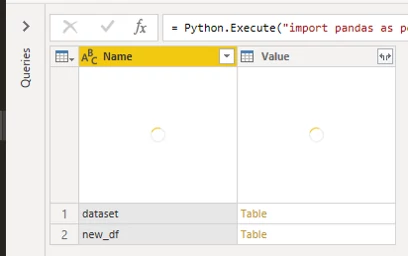
 Paste your code into the box that pops up and click on OK to run. Once the preview has loaded you will see a list of data frames, one is the original data set and the other is the new_df frame the script created:
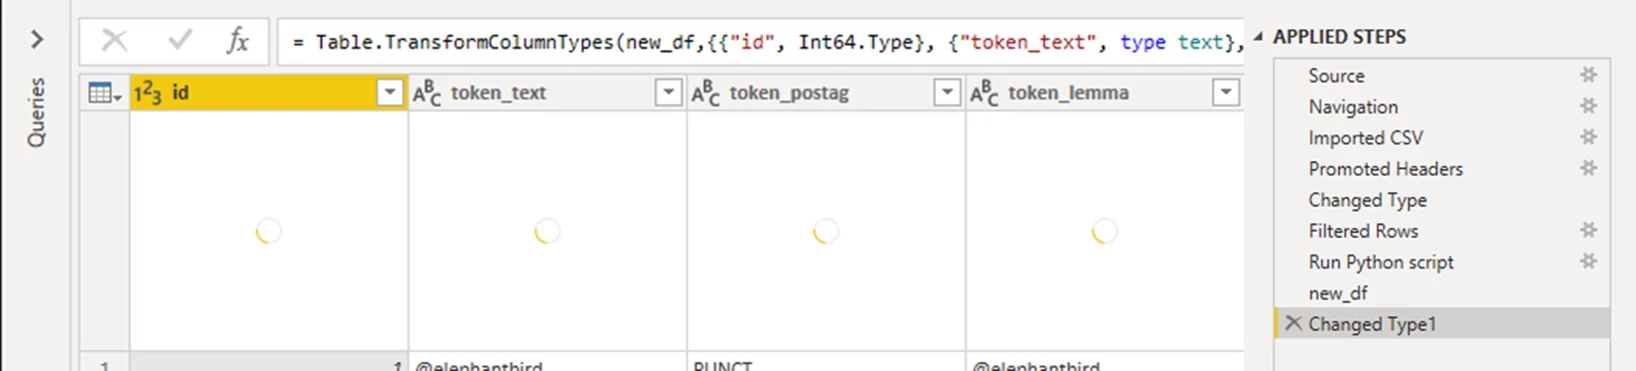
 To load the new_df data you can just click on table in the corresponding value column and that import the data frame and automatically do things like changing data types:
 Then you can load that to your model and join it up with other data sets and if you include both way filters can do some really cool stuff:
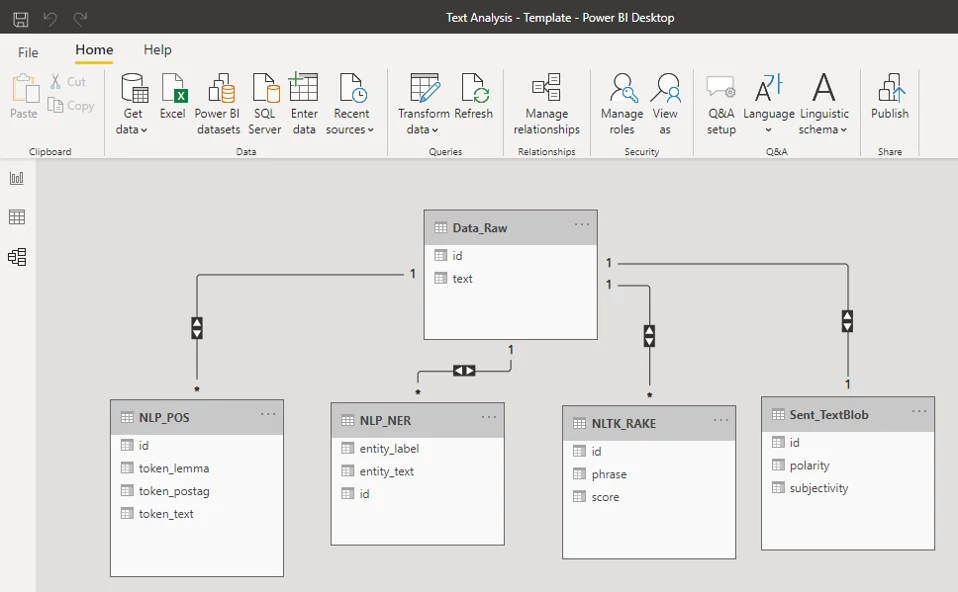
As you can see I have included in this template NER (code bellow), RAKE which I will do a separate posts about and TextBlob which is sentiment analysis and something that there will be many more posts about!